
Inflatable Camping Tents: Air Beam Care, Pressure & Repair
By Aisha Mbaye • 3rd Oct
What to do first
Treat an inflatable tent as two systems: fabric and air beams. Dry it promptly, store it loose in a cool, dry place, follow the model’s inflation instructions, and distinguish cold-related pressure loss from a persistent leak before opening the protective sleeve.
- What to do first: After camping, dry the tent fully, inspect fabric and seams, check the valve area for dirt, and avoid machine washing, machine drying, or tight long-term storage.
- Likely explanation: A beam that feels softer after a cold temperature drop may simply have lost pressure temporarily.
- Stop or escalate when: A small puncture may be patched as a temporary measure: clean and dry it first, follow the patch instructions, and verify the repair overnight.
Important: There is no defensible universal PSI, inspection schedule, or lifespan estimate for inflatable tents; model-specific instructions take priority.
Inflatable camping tents replace traditional metal or fiberglass poles with air-filled beams or tubes, which makes air beam tent maintenance a little different from ordinary tent care. The essential job is not to chase a universal pressure number or treat every soft beam as a failure. It is to distinguish temperature-related pressure change from a genuine leak, protect the tent fabric from preventable damage, and keep a clear repair path ready before a family trip depends on it.
For blow up family tents used as weekend bedrooms, keep the routine focused on established care steps. Dry the tent, store it correctly, and respond methodically to suspected leaks instead of collecting novelty accessories. Pay for nights, not features.
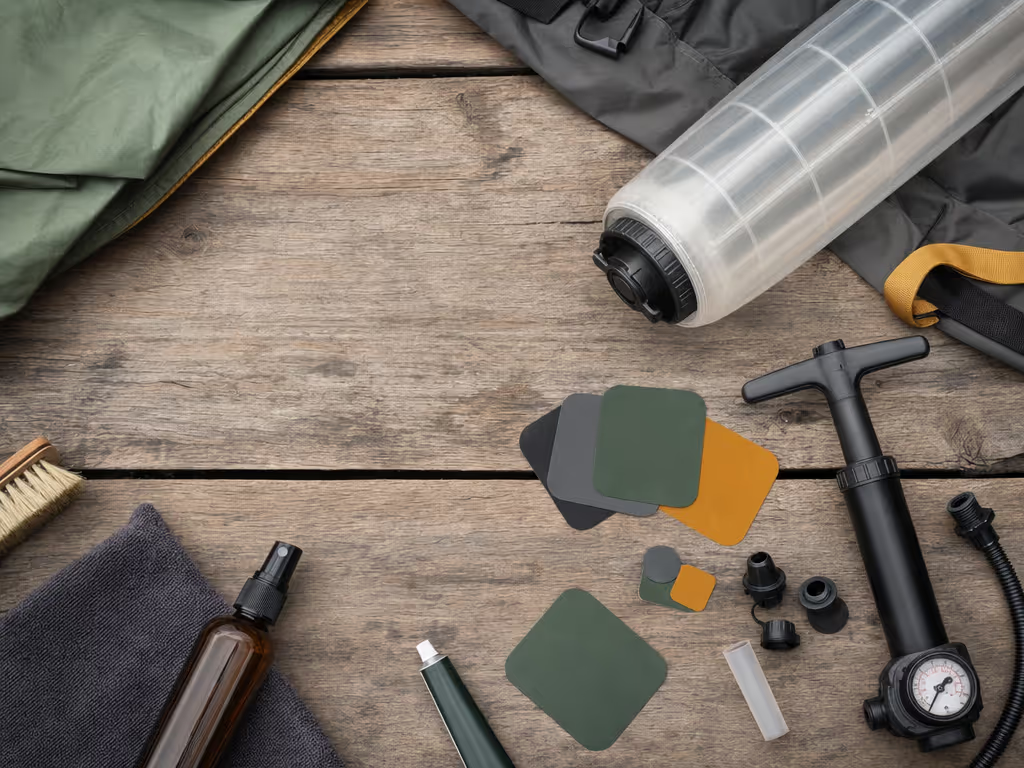
What does air-beam care actually involve?
Think in two care areas:
- The tent fabric: routine drying, cleaning, storage, and seam care.
- The air-beam setup: the components and access points identified in your model’s manual.
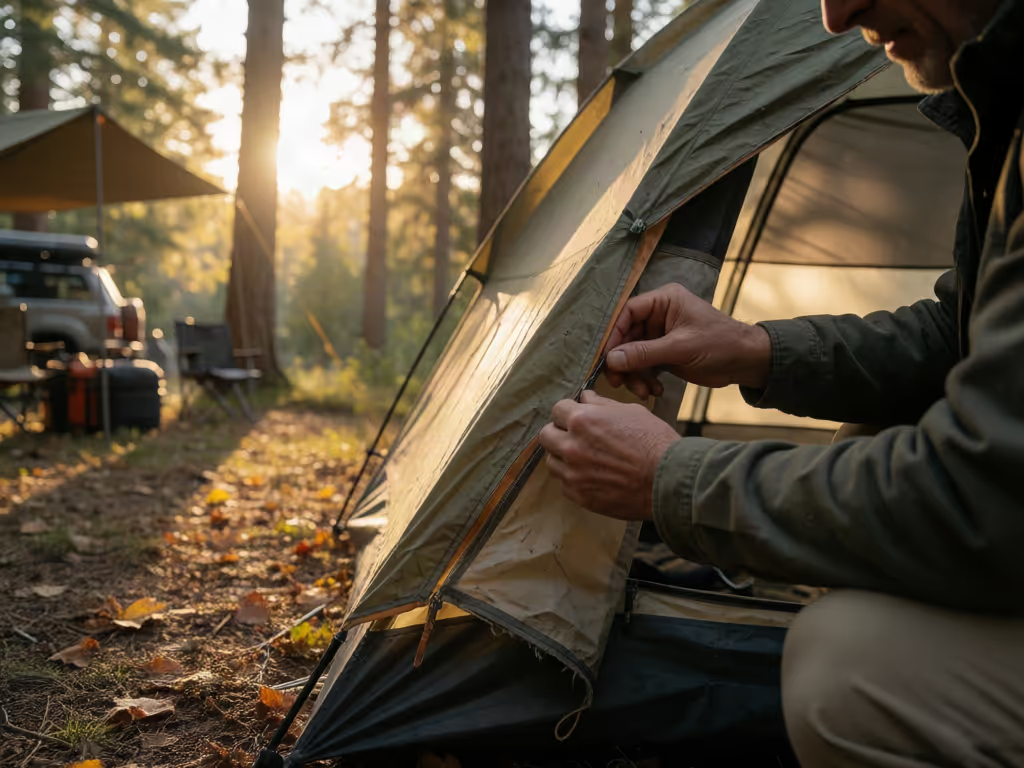
The fabric-care side is familiar but consequential, and our tent cleaning and maintenance guide covers the routine in greater detail. A tent that comes home wet should be dried as soon as possible. If the weather does not cooperate, set it up when you can or hang it in a garage or non-carpeted room. Damp fabric can grow mildew and can harm waterproof coatings.
For long-term storage, do not leave the tent compressed in its stuff sack. Store it loosely in a cool, dry place, such as in a pillowcase or similarly sized mesh bag, so the fabric can relax and breathe. Avoid machine washing and machine drying: both can stretch, tear, or heat-damage tent materials.
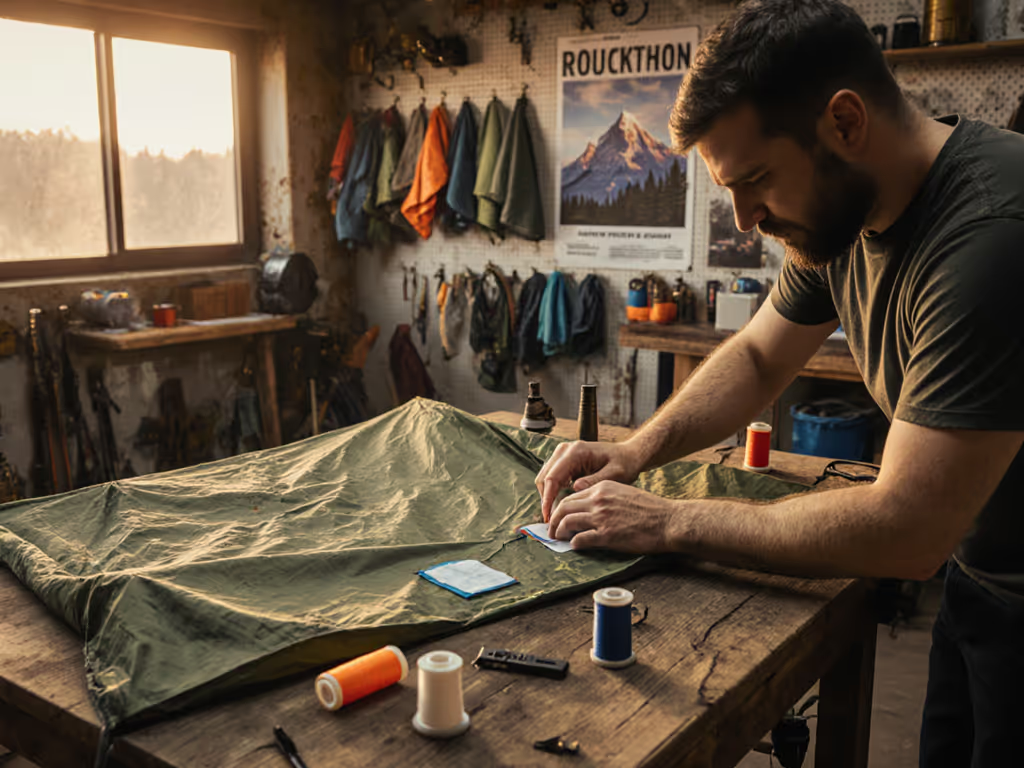
Seams deserve an occasional look as well. If seam tape has failed, reseal the affected area with a product formulated for that tent fabric. This is fabric maintenance, not an air-beam repair, but a sound bladder does not help much if water enters through neglected seams.
A practical post-trip routine
After each trip, make these few minutes count:
- Unpack and dry the tent fully before storage.
- Look over the floor, fly, and seams for damage that needs attention.
- Check the valve area for visible dirt before the next setup.
- Store the tent loose, dry, and out of long-term compression.
This is unglamorous work, but it follows established tent-care guidance. At a neighborhood repair night, I have seen a tent recover from the "not worth fixing" pile after a small zipper repair, a floor patch, and a guyline adjustment. The useful question is rarely "Is it perfect?" It is "What is the smallest repair that returns it to dependable service?"
What air beam tent pressure should you use?
Use the pressure specified in your tent's manual. There is no defensible universal PSI for an inflatable tent, and a generic online number can be the wrong instruction for your model.
What is useful to know is that cold conditions can reduce air pressure, sometimes noticeably enough that a beam needs more air, particularly at night. A softer beam after a temperature drop is therefore not automatic evidence of a puncture.
How should you respond when a beam feels softer?
Start with observation rather than disassembly:
- Consider whether the temperature has fallen since inflation.
- Check the valve for dust or grit that could let air escape.
- Follow the tent maker's instructions for inflation and valve care.
- Only move on to leak diagnosis when the pressure loss appears persistent rather than temperature-related.
Do not publish a made-up "safe" target into your own routine. The manufacturer's instructions are the relevant guide. Pressure is not a contest; it is a model-specific setup requirement.
A pressure change in cold weather may be normal. Persistent loss after conditions stabilize deserves a closer look.
How can you tell whether an inflatable tent has a leak?
A leak check should be deliberate. Confirm that the pressure loss is persistent before opening a protective sleeve, and follow your model’s instructions where they differ.
First, inspect the valve for dust or grit. If the issue continues, inflate the tube and use simple detection methods:
- Look for visible damage.
- Listen closely for escaping air.
- Feel around the tube for airflow.
- Apply water to a suspected area and watch for bubbles.
These are general diagnostic methods, not a substitute for your model's manual. Air-beam construction differs between manufacturers, so follow the manual if it directs a different process or limits owner repairs.
Can you patch an air-beam tube yourself?
A small puncture can have a repair path. If damage occurs during a trip, use these emergency tent field-repair techniques to stabilize the shelter until a permanent repair is possible. As a general temporary workflow, locate the puncture, clean the area with an alcohol swab, and let it dry before applying a patch. Follow the patch product's curing instructions rather than rushing the next step.
Once repaired, re-inflate the tube and leave it overnight to confirm that it holds air. That overnight check verifies whether the repair holds air.
If the repair holds, return the inner tube to its protective sleeve without twisting it. Take particular care that the sleeve zip does not catch the plastic. A self-applied patch may keep the tent usable while you contact the retailer about a replacement tube, but it is not proof that every tent or every type of damage should be handled the same way.
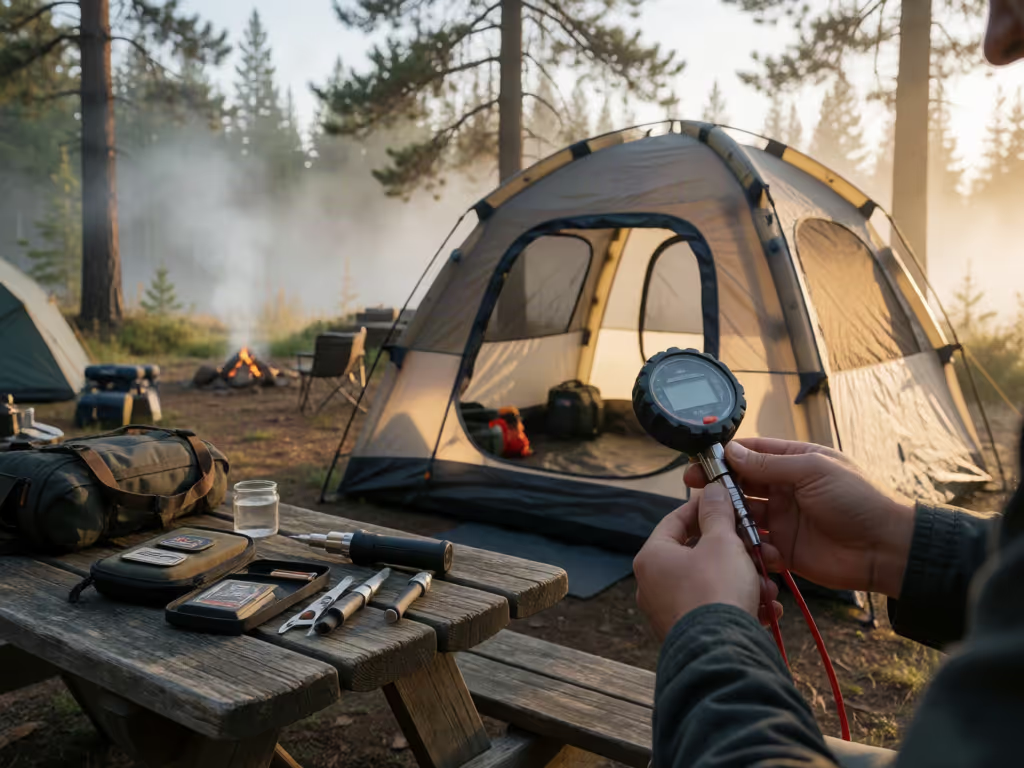
What should be in a sensible repair kit? For help choosing supplies beyond the basics, compare these field-tested tent repair kits.
Keep the kit focused on tasks you can actually verify:
- The tent's manual and support details
- Alcohol swabs
- A patch product and its instructions
- A small container of water for bubble checks
- A clean cloth for drying the repair area
For valve removal or replacement, seam repair on the beam, and bladder replacement, consult the manufacturer's instructions or support channel.
How long do inflatable camping tents last?
There is no reliable lifespan number for inflatable camping tents as a category. The useful answer is therefore a care plan rather than a promised number of years.
Follow the established care steps: dry the tent before storage; for long-term storage, keep it loose in a cool, dry place rather than in its compact stuff sack; and avoid machine washing or drying, which can stretch, tear, or heat-damage tent materials. Address fabric or seam damage before it becomes a trip-ending problem. For more detailed protection between trips, see our guide to tent storage solutions, including moisture control and space-efficient storage methods. For the air system, keep the valve clean, investigate persistent pressure loss, and check a patch overnight.
That is the no-greenwashing answer. Care can help avoid preventable fabric damage, but it cannot produce a dependable category-wide lifespan estimate.
Final verdict: care for the system, not just the trip
An inflatable tent does not need mysterious maintenance. It needs dry storage, sensible fabric care, model-specific inflation guidance, and a measured leak workflow. Never substitute a generic PSI for the manufacturer's instructions, and never assume a cold-night pressure drop means a puncture.
The strongest ownership plan is simple: dry it promptly, store it loose and cool, inspect the fabric and valve area, diagnose before opening a sleeve, and check any patch overnight. Buy once, sleep well, fix forever when you can. That is a practical way to care for an inflatable shelter between trips.
Related Articles