Car Camping Tent Reviews: Secondhand Inspection Checklist
By Mateo Alvarenga • 10th Sep
What to do
When evaluating a secondhand car-camping tent, pitch it completely in daylight and check its supplied parts, fabric, seams, poles, stakes, guylines, doors, and zippers. This can reveal condition and functional problems, but it cannot certify the tent as waterproof or stormworthy.
- Start with: Use the tent’s instructions or original inventory to confirm the supplied parts.
- Then: Look for possible mildew signs, UV-exposure history, lifting seam tape, cracked ferrules, fiberglass-specific damage, missing or bent stakes, and zippers that jam or require force.
- Important prerequisite: Allow time for a full practice setup before a trip. Repair guidance for failed seam tape differs by manufacturer, so follow instructions specific to the tent.
Most car camping tent reviews focus on a tent when it is new; buying a secondhand tent calls for a different, more practical question: can this particular shelter still function properly for your trip? A bargain is only a bargain if the doors work and the seams remain intact. For more camping planning ideas, see real sleep space.
A complete setup can reveal missing parts and functional problems. It will not certify a used or borrowed tent as waterproof or stormworthy.
Start with a complete setup
Ask to pitch the tent fully, including its rainfly, supplied poles, stakes, and guylines.
If an on-site pitch is impossible, set it up at home before the trip. Practice setup can reveal missing components and functional problems. It does not prove that the tent will withstand a particular storm or remain leak-free.
During the pitch, record three things:
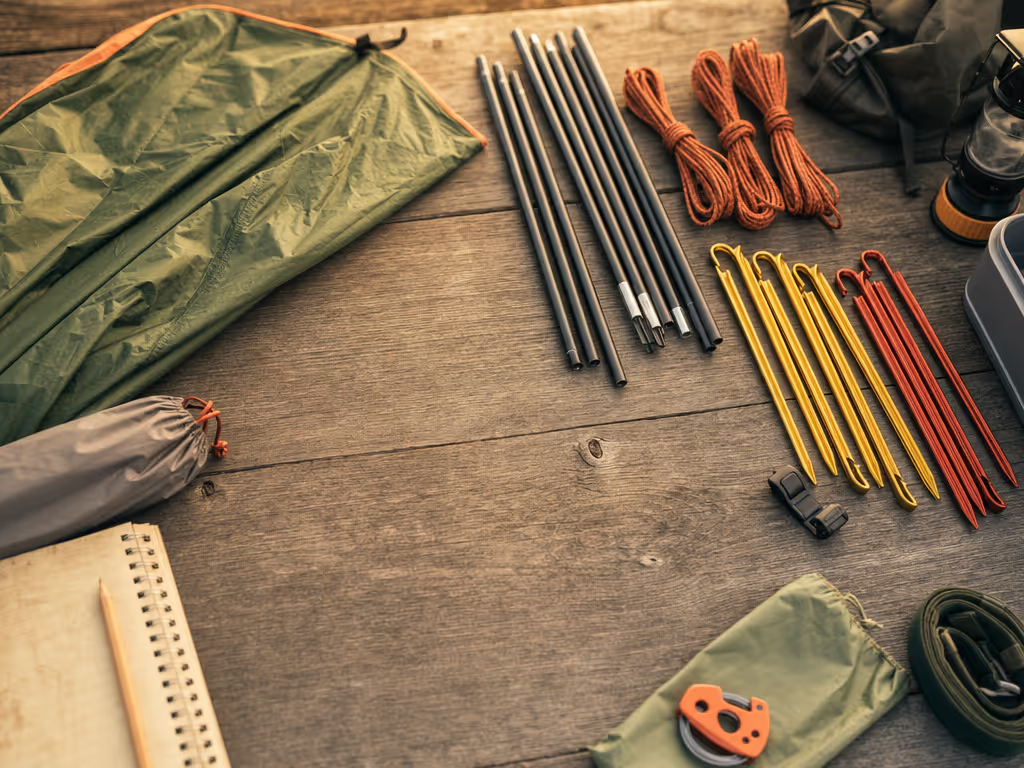
- What is actually included? Count poles, pole sections, stakes, guylines, fly, inner tent, footprint if offered, and the carry bag. The correct inventory is model-specific, so compare it with the tent's instructions or original component list when available.
- Can you complete the setup? Note any missing components or functional problems you encounter.
- Can every opening be operated? Open and close each door, window, and vent several times.
Inspect fabric, floor, and seams in daylight
Spread the fly and inner tent so you can look closely along panels, corners, and the floor. This is the section that addresses the hard-to-search signs of tent UV damage and storage damage (with an important limit: there is no reliable visual pass/fail standard for UV-weakened fabric in this checklist).
Look for moisture-storage history
Check for white, green, or black dots and a musty smell. These can be signs of mildew. Damp storage can allow mildew to develop and can contribute to waterproof-coating breakdown over time. For a complete post-trip care routine, use this tent cleaning and maintenance guide.
Treat suspicious odor or spotting as a reason to pause, ask about storage history, and decide whether the price and uncertainty are acceptable to you. Do not assume every stain is mildew, but do not dismiss it because the tent otherwise looks clean.
Treat sun exposure as a question, not a cosmetic verdict
Ask where and how long the tent was used or stored in direct sun. Extended sun exposure can degrade tent fabric over time. If the fabric is nylon, it is particularly susceptible to UV degradation; polyester and Dyneema Composite Fabric are described as degrading less than nylon under sunlight, not as immune to damage.
Because the fabric may be unknown and no simple field threshold establishes remaining strength, avoid declaring a faded-looking tent "fine" or a bright-looking tent "safe." Storage and use history matter here.
Inspect every taped seam
Factory seam tape blocks water from entering the needle holes in tent seams. On tents that use it, look inside along seam runs for tape that is lifting, breaking down, or flaking away. Moisture, heat, and humidity can deteriorate seam tape, particularly on lightweight tent fabrics.
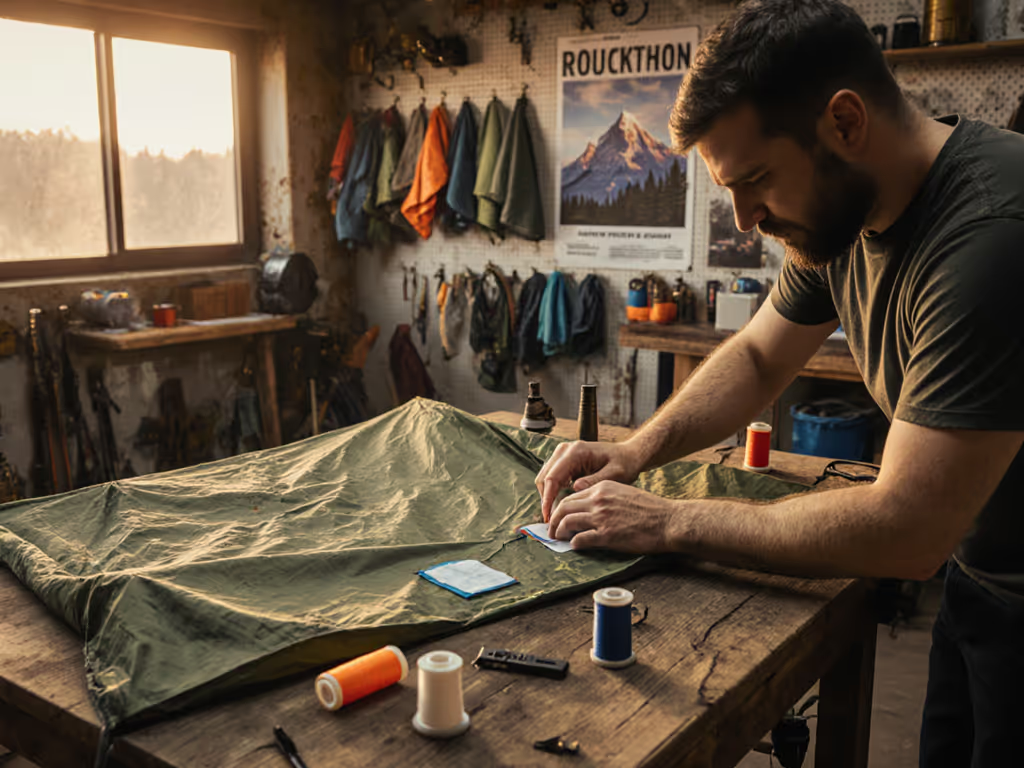
This is a meaningful condition flag, not necessarily an automatic rejection. Repair may be possible, but pause before assuming a universal fix. If you do buy a tent needing minor work, review these field tent repair techniques before attempting a fix. Manufacturer guidance differs on which side of fabric receives seam sealer after tape failure. Use the specific tent maker's instructions before attempting a repair.
Inspect tent poles and zippers one component at a time
The phrase inspect tent poles and zippers sounds obvious, yet these components can turn a promising used tent into an awkward, incomplete setup.
Poles, ferrules, stakes, and guylines
Check tent pole materials and ferrules (the ends that join pole sections) for cracks. For fiberglass poles specifically, inspect each section for longitudinal cracks, surface splintering, and deformation at ferrule ends. Those signs are material-specific; do not apply the same diagnosis to aluminum, carbon-fiber, inflatable, or integrated-frame designs without that tent's guidance.
Inventory stakes and replace those that are missing or bent beyond recognition. Also find every supplied guyline and verify that it is present and usable. If the tent’s instructions or original inventory includes upper guylines, they can add stability and strength in wind for freestanding tents. Still, a driveway setup cannot establish wind limits, and deliberately wind-testing a used tent is not a sensible substitute for condition checks.
Doors and zippers
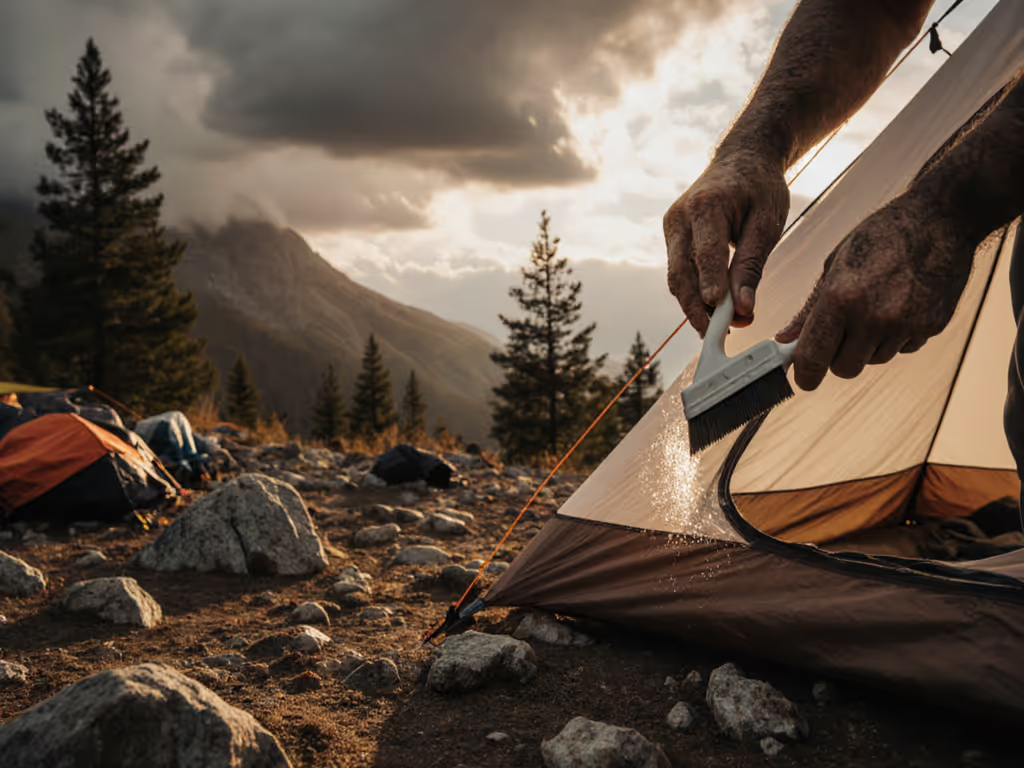
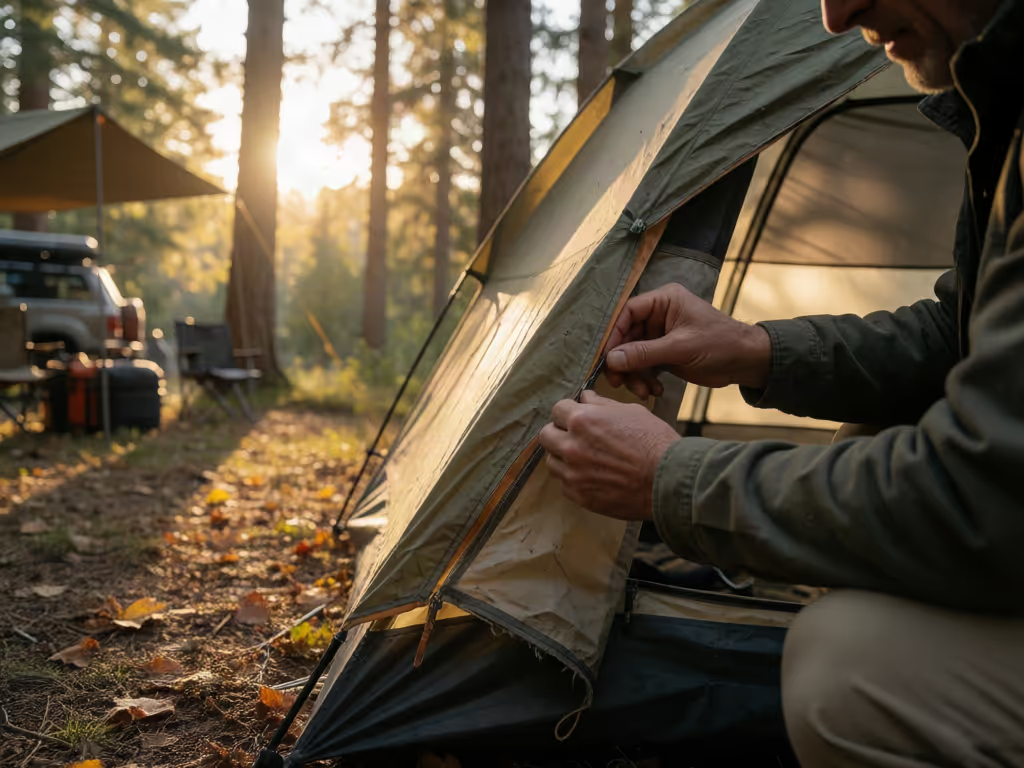
Run each zipper slowly around its full path. Look for accumulated dust or grit, which should be cleaned; a dry cloth after a trip is a practical maintenance habit. If a zipper catches fabric, hold the zipper track and gently work the slider backward until the fabric releases rather than forcing it forward.
There is no standardized visual threshold for a worn zipper slider in this checklist. What matters at purchase is repeatable function: can each door be opened and closed without wrestling it?
Can you check tent for leaks before a trip?
You should absolutely inspect seams during the full setup, especially for lifting or flaking tape. But if you are wondering how to check tent for leaks with a home hose or spray test, keep the conclusion modest: no validated at-home procedure or pass/fail threshold is available here.
A complete home setup can reveal missing parts and functional problems. Inspect taped seams for lifting or flaking tape, and operate each zipper along its full path. It cannot certify a secondhand tent as waterproof. Be equally cautious with weather claims: a successful practice pitch and correctly attached guylines are useful preparation, not proof of storm performance.
For a tent intended for consequential trips or uncertain weather, obtain its model-specific instructions, component list, and repair guidance, or choose a different tent with a clearer history.
Your secondhand camping gear checklist: buy, bargain, or walk away
Use this decision screen after the full inspection.
Buy with confidence only when
- The tent pitches completely with the components offered. When available, model-specific instructions or the original inventory let you determine whether the supplied hardware is complete.
- Doors and zippers operate repeatedly without forcing.
- Pole ferrules show no cracks; fiberglass sections show no cracking, splintering, or ferrule-end deformation.
- Storage history is credible, with no concerning mildew signs.
- Seams have no visible lifting or flaking tape (or you understand the tent-specific repair path).
Negotiate when
- The issue is clearly identified, limited, and supported by model-specific replacement or repair information.
- The seller can document what is missing and the price leaves room for that uncertainty.
- The tent has a cosmetic imperfection you are genuinely willing to live with.
Walk away when
- You cannot complete a full setup or establish what components should be present.
- The tent has suspected mildew, deteriorating seam tape, or pole damage that the seller cannot explain.
- Zippers repeatedly jam or cannot be operated gently.
Take the next step before you pay
Save this secondhand camping gear checklist to your phone and allow enough daylight for a complete pitch. Photograph the assembled tent, each seam concern, poles, and stakes before you decide. The best used-tent purchase is not the lowest price in the listing; it is the one with a condition you understand before the trip. Once purchased, do not store the tent damp: damp fabric can develop mildew and experience waterproof-coating breakdown over time. Review these tent storage solutions before putting the shelter away.
Related Articles