Canvas Bell Tents With Stoves: Safety, Condensation, Care
By Priya Nandakumar • 21st Sep
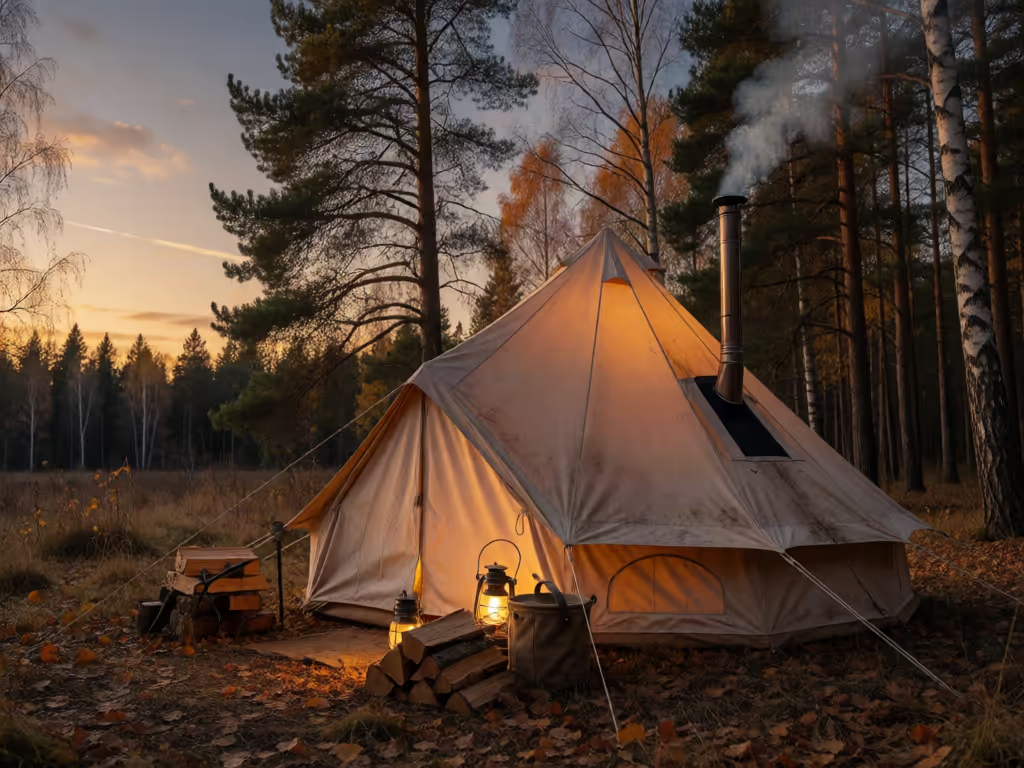
Quick answer
A stove-jack cut-out alone does not establish stove compatibility. One documented example is the Springbar Classic Jack 140, which Springbar says is wood-stove compatible only with its Zip-In Stove Jack and the required Hot Tent System components.
- Short answer: Use only the exact configuration approved by the manufacturers. Keep required clearances, protect the floor, ventilate, use a carbon-monoxide detector, supervise the fire, and plan cooled-ash disposal.
- Key distinction: Canvas does not eliminate condensation. Control moisture with site choice, open vents, dry gear kept outside, and thorough drying after wet trips.
- Important caveat: Clearances, snow handling, year-round suitability, cleaning methods, and maintenance schedules are not universal. Follow the exact tent and stove manuals; never improvise a retrofit or assume a 20–30-year lifespan.
Canvas bell tents can turn a cold campsite into a usable family bedroom, but a stove-jack cut-out does not establish stove compatibility. The useful question is whether a specific manufacturer explicitly approves the tent, jack, stove, flue, and required components as a system—and whether site rules and household routine support using that exact configuration without creating a preventable risk.
Comfort is engineered long before the first raindrop falls. When evaluating a stove setup, that means treating clearance, fresh-air exchange, moisture, and drying as one system (not as separate chores for the end of the trip).
FAQ: Is a stove jack enough to make a canvas tent stove-ready?
No. The presence of a stove jack does not establish that every stove and pipe arrangement is approved for that tent.
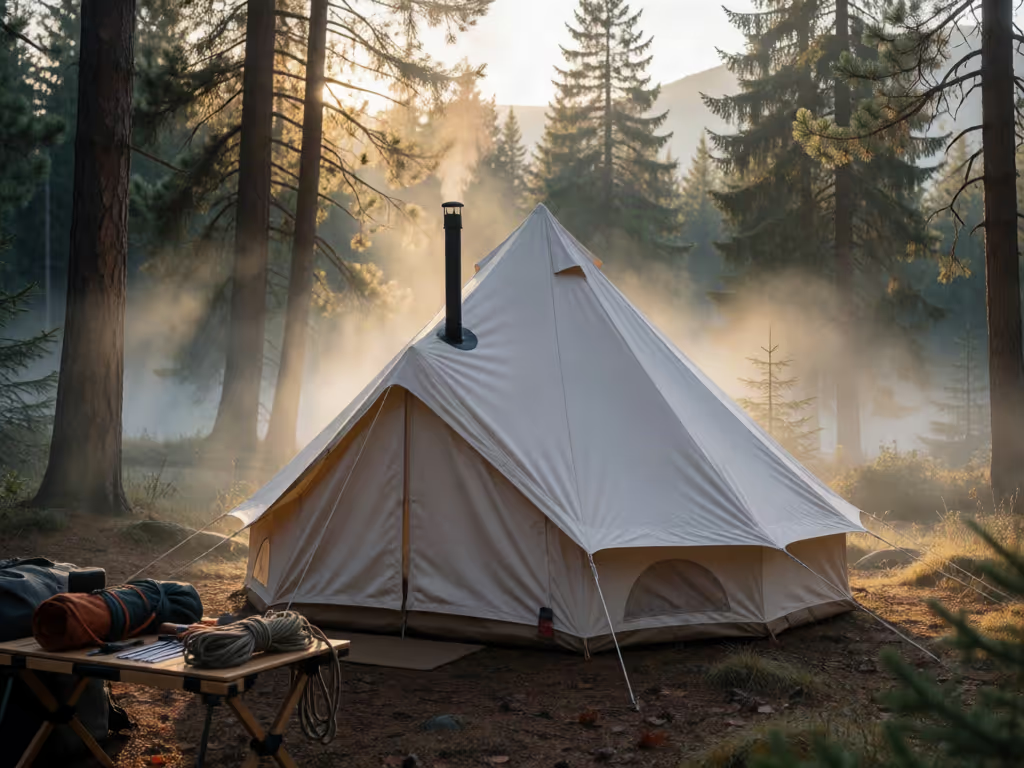
Some bell tents with stove-jack cut-outs are sold with stove-jack cut-outs. For example, White Duck states that its Regatta and Avalon bell tents have stove-jack cut-outs. That establishes availability, not a blanket safety conclusion. Compatibility remains specific to the tent, jack, stove, pipe system, and their instructions.
The distinction matters. Springbar, for example, limits its Classic Jack 140 wood-stove compatibility to its Zip-In Stove Jack and required Hot Tent System components. That is the model to follow: use the configuration your tent and stove makers specify, rather than assuming a similarly sized pipe or jack will work.
Do not cut or retrofit a stove jack into an existing tent based on general guidance. A safe retrofit method is not established here.
Plain-language takeaway: Buy or use a purpose-designed system, then follow the instructions for every component in that system.
FAQ: What does a safer tent-stove setup look like?
Start with the manuals for the exact tent, stove, jack, and flue. Then use this pre-light checklist each time you camp.
1. Establish the stove zone before bedding goes down
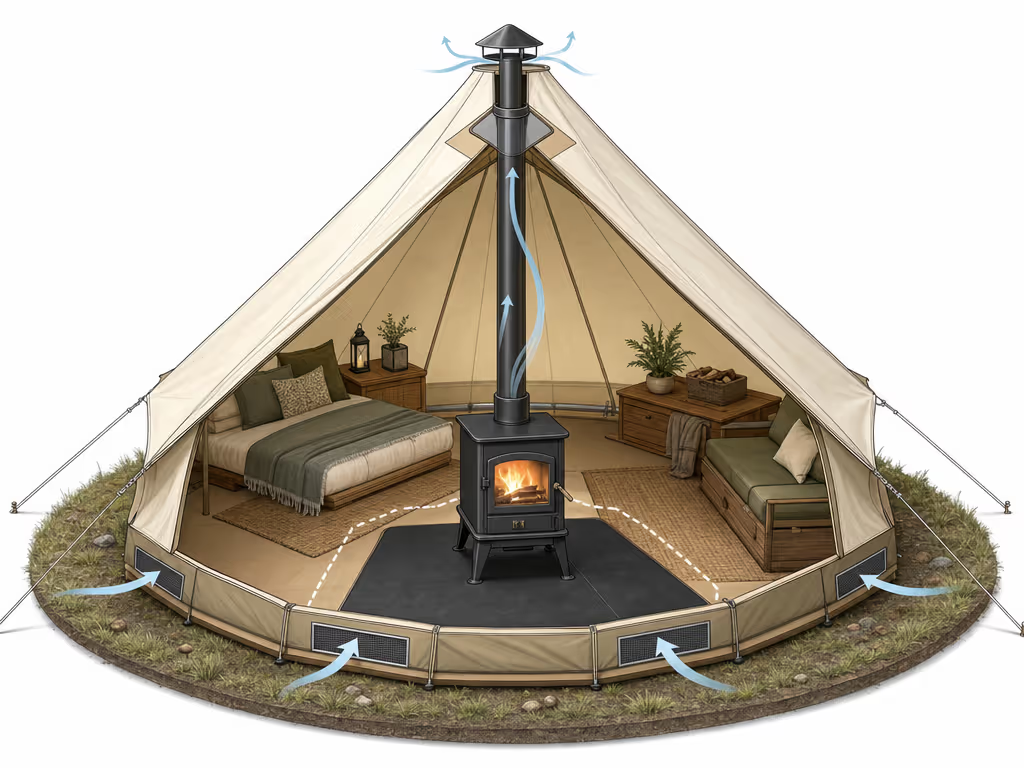
Keep sleeping pads, dog beds, bags, clothing, and loose gear out of the stove zone. Stout Tent's general installation guidance recommends at least 6 inches between the stove body or flue pipe and canvas walls. That is Stout Tent's guidance, not a universal clearance: the stove manufacturer may require more distance.
For floor protection, Stout Tent advises a fire-resistant hearth mat extending roughly 12 inches beyond the stove footprint on every side. If the stove manual specifies a different or greater requirement, use that requirement.
2. Build the flue as a drainage path, not a leak path
Stout Tent advises orienting flue sections with their male ends downward, so creosote and condensation travel back toward the stove rather than escaping at pipe joints. It also advises routing the flue well above the roofline and using a spark arrestor and rain cap.
Those are practical setup principles, but do not turn them into guessed dimensions. Pipe diameter, total height, supports, and inspection needs belong to the particular stove and pipe system.
3. Ventilate even when the tent is warm
Stout Tent says a stove jack vents smoke; it does not replace overall tent ventilation. Stout Tent advises keeping a door or window slightly open for fresh-air exchange when using a wood stove. Use a battery-operated carbon-monoxide detector inside the tent and test it regularly.
A detector is an alarm, not permission to ignore ventilation, compatibility, or supervision. Never leave a lit tent stove unattended.
4. Plan ash handling before the first fire
Wait until the stove has cooled before removing ash. Stout Tent advises a metal ash bucket with a tight-fitting lid, kept away from combustible materials. This is a small detail with a large consequence: ash management should never become an improvised midnight task near sleeping gear.
Risk thresholds that deserve a stop, not a workaround
Stop and reassess if any of these occur:
- The stove or flue cannot meet the clearances required by its manual.
- You cannot maintain the required fresh-air opening because of weather or layout.
- The flue route, jack, or pipe joints do not match the approved configuration.
- Kids, pets, or bedding cannot be reliably kept clear of the stove zone.
- You would need to leave the stove burning unsupervised.
Failure mode matters, not just peak heat. A tent that feels comfortable at dinner but cannot be operated predictably through bedtime, ventilation changes, and ash cleanup is not a comfortable overnight system.
FAQ: Why does condensation still happen in a canvas bell tent?
Canvas can feel different from a synthetic shelter, but it does not repeal moisture physics. Condensation forms when warm moisture in occupants' breath meets relatively colder tent walls and becomes droplets. Wet clothing dried inside also adds humidity.
CanvasCamp notes that heavier canvas coating reduces breathability and can increase interior humidity and temperature. So a "sealed up tight" approach may feel warm initially while making the air progressively damper.
I have watched a three-pole dome in a coastal squall breathe almost silently with each gust, then snap into a faster rhythm when the wind changed. The lesson carries over here: calm comfort comes from a system that absorbs and releases energy and moisture predictably, not from trying to seal every exchange point.
A practical 4-season canvas tent condensation routine
For 4-season canvas tent condensation management, focus on reducing moisture input and maintaining controlled airflow:
- Choose the drier site available. Avoid pitching immediately beside water when possible, and favor higher ground where campsite rules and terrain allow.
- Open available vents and windows. Create air circulation while accounting for rain, wind, insects, and the stove system's instructions.
- Keep wet gear out of the sleeping room. Drying boots, jackets, and towels inside adds humidity exactly where cold walls can collect it.
- Separate bedding from the walls. This gives droplets less chance to transfer directly to sleeping bags or blankets.
- Air the tent out once conditions improve. Ventilate after cooking, after people wake, and whenever the weather permits.
The target is not zero condensation; these condensation-control techniques help keep moisture manageable. The target is no drips on sleepers, no persistently clammy interior, and no packed tent that stays wet long enough to become a storage problem.
FAQ: Can canvas bell tents stay up all year?
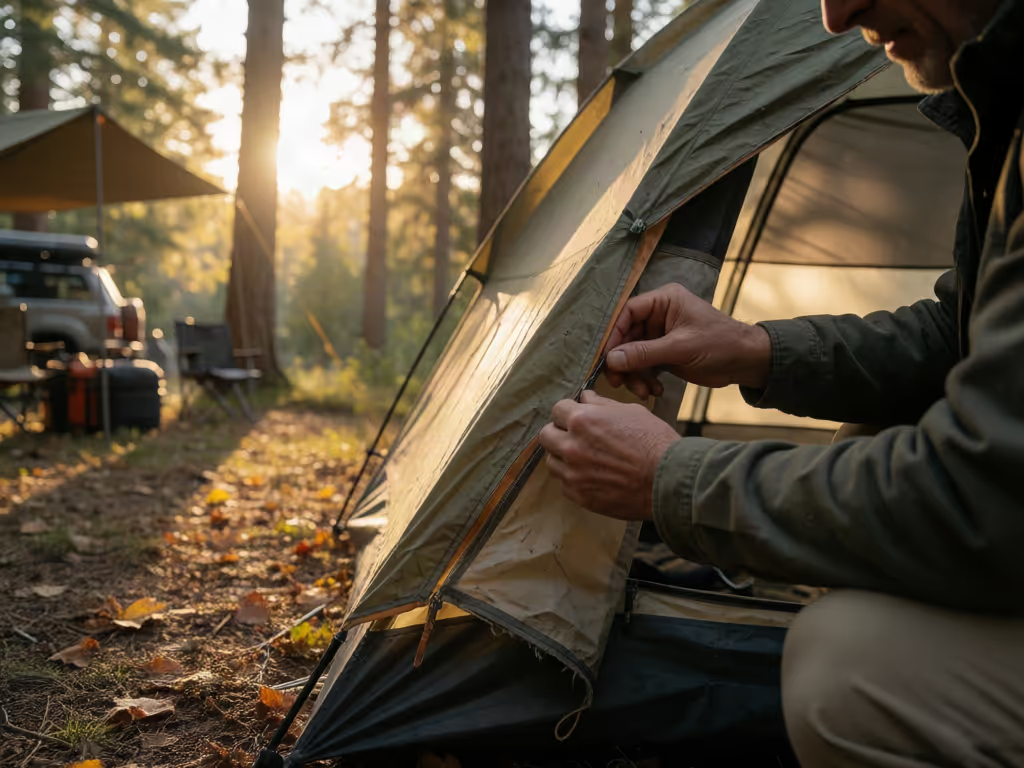
There is no category-wide yes or no. Long-term pitching increases exposure to sunlight, rain, dirt, and moisture, all factors CanvasCamp says reduce water repellency over time, with UV exposure especially damaging to the coating. Snow also needs active management where the specific tent maker requires it; Springbar explicitly says snow loads on its Classic Jack 140 must be actively managed to prevent excessive roof-panel weight.
That makes year-round deployment a manufacturer-specific maintenance and weather-management decision, not a feature you should assume from a bell-tent shape or stove jack. Check the tent's own instructions for seasonal use, site exposure, snow removal, and re-treatment.
FAQ: What are the essential bell tent care tips after a wet trip?
The most important bell tent care tips are simple: remove grime gently, dry completely, and store only when the entire system is dry.
Cleaning: preserve the treatment
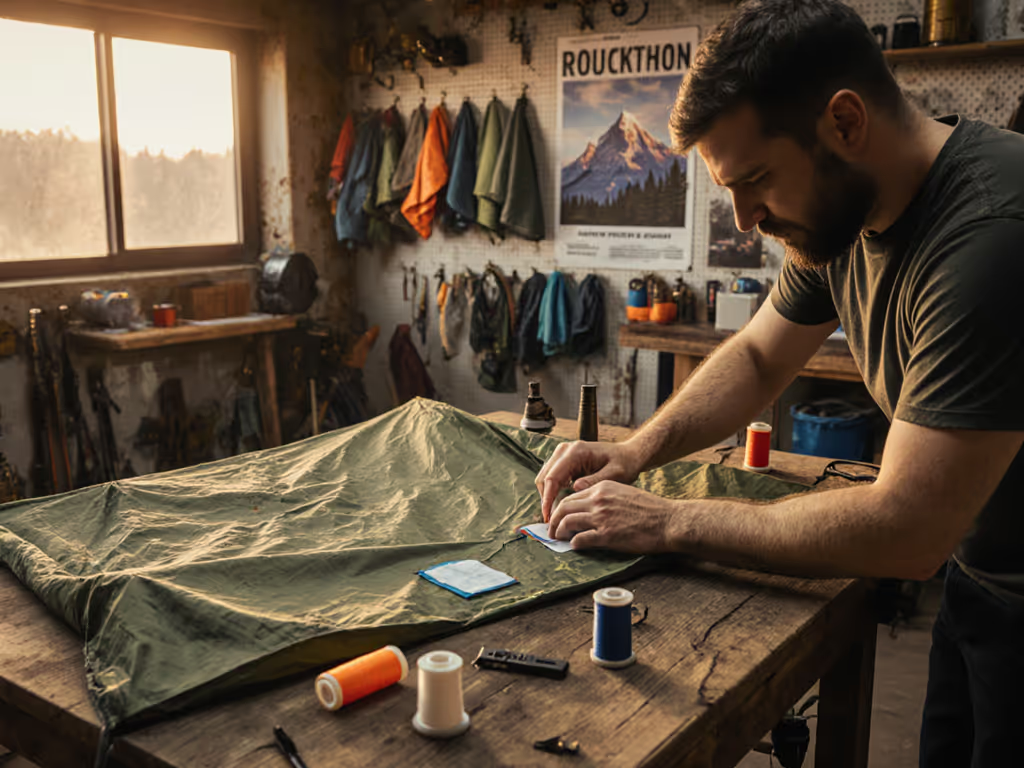
For routine dirt, CanvasCamp recommends rinsing and using a soft brush to remove dry debris. Cleaning instructions can differ by maker: CanvasCamp permits certain machine-washing methods for some cotton and poly-cotton tents, while Kodiak Canvas favors cold water, a soft-bristle brush, and canvas-specific cleaner. Follow your tent maker's instructions rather than applying one method to every canvas fabric.
Soap is not a harmless default. CanvasCamp says soap can dissolve canvas coating; if soap washing is used under the manufacturer's guidance, the tent should be thoroughly rinsed, completely dried, and re-impregnated afterward.
Drying: the 72-hour rule is a useful operational deadline
For canvas tent drying routines, CanvasCamp advises loosely folding a damp tent for transport, then laying it out to dry within 72 hours. Dry the tent, groundsheet, and guy lines completely before long-term storage.
Mould can begin within 24 hours under favorable conditions, according to CanvasCamp. That is not a countdown clock for every climate, but it is a clear reason not to leave a wet canvas bundle in a vehicle, basement, or shed.
Storage: high, dry, and off damp floors
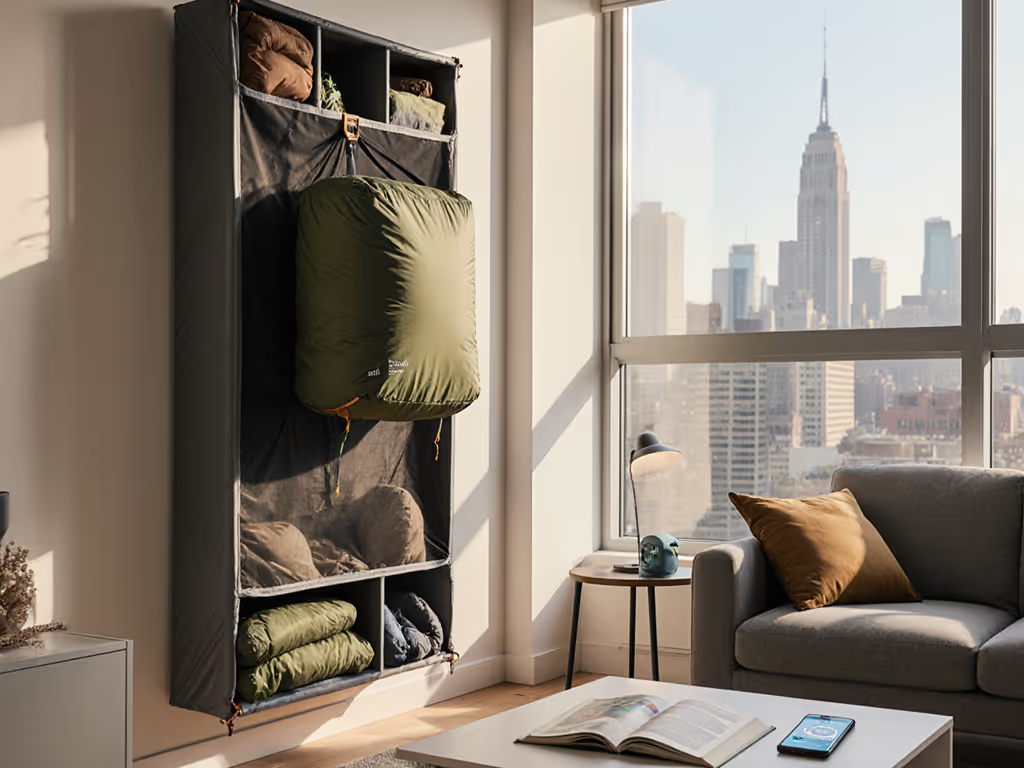
Store the clean, fully dry tent using these moisture-conscious tent storage solutions in a cool, dry place, high and dry rather than on a damp basement, shed, barn, or warehouse floor. Check the fabric periodically if the tent is stored for long periods.
CanvasCamp recommends cleaning and re-treating its tents every 3 to 18 months of use, depending on climate and tent quality. Treat that broad range as evidence that exposure drives maintenance; your own maker's care schedule takes priority.
FAQ: How long can a canvas tent last?
Kodiak Canvas says a well-maintained canvas tent can last 20 to 30 years. That is a manufacturer claim, not an independently verified lifespan promise, and it is not specific to bell tents or stove-jack tents.
Still, the maintenance logic is sound: prompt drying, gentle cleaning, appropriate re-treatment, and protected storage directly address the conditions that degrade a tent over time.
Further exploration: build your own operating card
Before your next cold-weather trip, make a one-page card for your exact setup: approved tent-jack-stove components, required clearances, hearth requirements, ventilation steps, detector test, supervised-burning rule, ash plan, and wet-pack drying plan. Keep it with the stove.
That small document removes the guesswork when rain starts, kids are tired, and the temperature drops. The best outcome is wonderfully unremarkable: dry bedding, steady air, a quiet structure, and everyone asleep while the weather does its work outside.
Related Articles