SUV Hatchback Tents: Setup Tips, Layouts, and Comfort
By Mateo Alvarenga • 11th Aug
What to do
To make an SUV hatchback tent comfortable, verify the vehicle connection first, test your sleeping layout at full scale, then practice the complete setup and nighttime route before camping. A driveway rehearsal can reveal fit, headroom, zipper, and circulation problems while there is still time to adjust.
- Start with: Check open-hatch height, rear-door style, bumper area, sleeve contact points, and the maker’s exact fit guidance.
- Then: Map pads, pillows, dog space, storage, mud zones, and a clear hatch passage. Practice the model-specific attachment steps, keep straps loose enough for smooth zippers, and use stakes and guylines.
- Important prerequisite: Choose level, debris-free ground and set the emergency brake.
Important: Rainflies and taped seams are not proof against severe weather; the available guidance recommends avoiding high winds and heavy rain conditions beyond the tent’s limits.
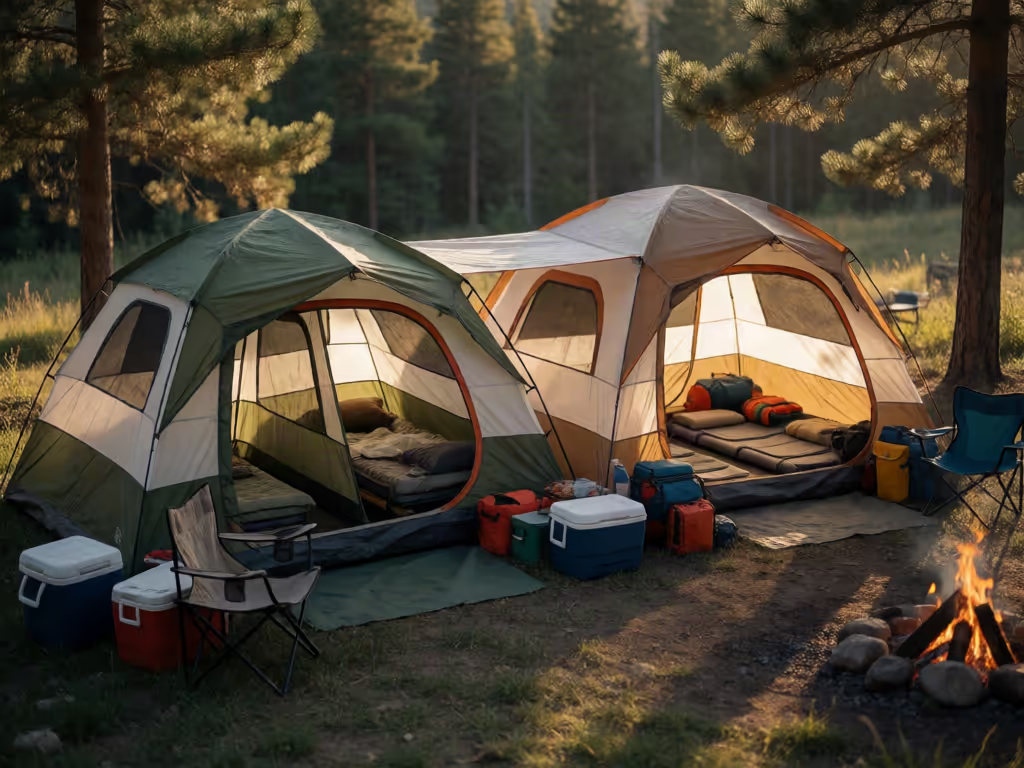
SUV hatchback tents and other car camping tents can turn the rear of a vehicle into part bedroom, part gear room, and part sheltered entryway. But the useful question is not whether a tent's capacity label sounds big enough. It is whether your pads, shoulders, dog, wet shoes, and route to the door can coexist without someone crawling over everyone at midnight. Fit-first layouts turn marketing capacity into real sleep space.
This step-by-step process helps you plan a vehicle-attached shelter before your first campsite pitch (when there is still daylight, patience, and room to change the plan).
Step 1: Confirm the tent-to-vehicle connection before planning sleep space
Start with the open hatch, not the tent's advertised occupancy. Measure or check:
- Your vehicle's height with the hatch fully open
- The shape of the hatch opening and rear bumper area
- Whether your vehicle has a liftgate or barn doors
- The exact tent maker's fit guidance for your vehicle
- Where the sleeve, straps, and lower edge contact the vehicle
A "universal" sleeve is a starting point, not proof of fit. For example, Napier's SUV-tent range says its sleeve is intended for a broad selection of vehicle types when the open tailgate height is no more than 80 inches, but that is not a promise that every vehicle profile will work. The Sportz Dome-To-Go is specifically intended for small CUVs and hatchbacks; Napier also says it does not fit barn-door vehicles or trucks with camper shells.
Do this check before buying, not in a campground parking spot after dark. For the Rightline Gear SUV Tent 110907, do not overtighten the vehicle-sleeve straps: difficulty closing the tent-door zipper indicates overtightening, which can damage that zipper.
Step 2: Draw your pad layout at full scale
The tent floor is only the beginning. Your usable sleeping space shrinks wherever walls slope inward, a doorway needs to stay clear, or a person must step through the hatch connection.
Make a simple pad layout template at home:
- Measure each sleeping pad, including its real inflated width.
- Add pillow length at the head and a small buffer at the foot.
- Mark each person's sleep posture: side sleeper, sprawler, restless child, or "dog rotates twice before lying down."
- Add a clear aisle from the main door to the vehicle opening.
- Mark a mud zone near the entrance for shoes and damp layers.
I have learned more from taped pad cutouts than from a capacity number. A quick living-room floor mock-up (especially once a partner stretches out and a shepherd begins its circling routine) makes pinch points obvious.
A layout that works for two adults and a dog
MAIN TENT FLOOR

[ door / mud zone ] [ dog bed or soft crate ]

[ adult pad ] [ adult pad ]

 clear hatch passage
 ↓
 [ vehicle cargo area ]
Keep the hatch passage intentionally open. The cargo area can become a protected storage zone, a changing space, or a separate sleeping area if its dimensions and surface work for the person using it. Do not assume that every SUV cargo area is long, flat, or comfortable enough for every sleeper; measure your own vehicle with the hatch closed before assigning anyone that berth.
The best layout is the one that lets the earliest riser leave without waking the entire tent.
Step 3: Map headroom, not just floor area
Center height is useful for standing up once. It does not tell you where you can sit upright, pull on a shirt, or lean over to help a child with a sleeping bag.
Create a quick annotated headroom map during a backyard pitch:
- Sit on each pad where the sleeper's shoulders will land.
- Note where hair, elbows, or a raised knee meet a sloped wall.
- Stand at the door, hatch opening, and changing spot.
- Mark the most comfortable sitting zone with tape or a small groundsheet marker.
For a real-world reference, Napier lists the Sportz Dome-To-Go at an 8-foot-5-inch by 8-foot-5-inch floor with a 6-foot-7-inch center height. That sounds generous, but its practical value still depends on where your pads sit relative to the dome's slope and where you need to change clothes.
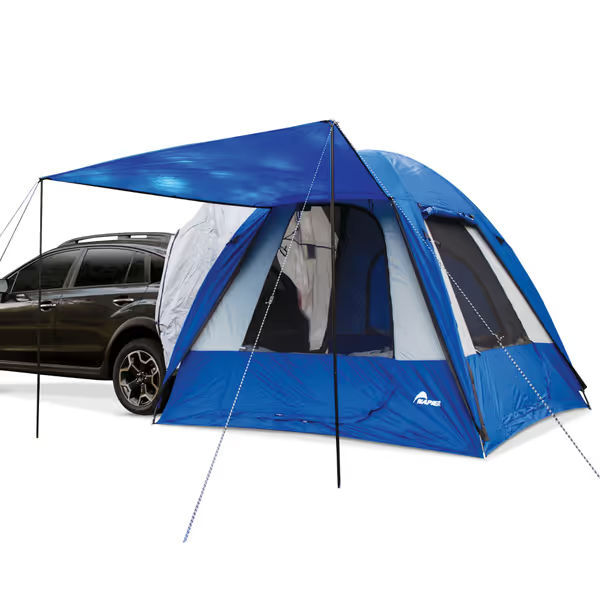
Napier Sportz Hatchback Tent
Seamlessly blend your hatchback with spacious, weatherproof camping comfort.
$299.99
Headroom7 feet
Headroom7 feet
Pros
Connects to vehicle for gear access and expanded space
Quick 10-minute setup, even freestanding
Full weather protection with robust rainfly and sealed seams
Cons
May require specific vehicle types for optimal fit
Customers love the easy setup and secure attachment to various hatchbacks, appreciating the ability to detach the vehicle.
Customers love the easy setup and secure attachment to various hatchbacks, appreciating the ability to detach the vehicle.
Place taller sleepers along the longest uninterrupted line, then leave their head and foot ends away from fabric. For side sleepers, prioritize shoulder clearance over squeezing in an extra narrow pad. For families, reserve the highest headroom for the person who will be dressing kids, managing the dog, or making late-night exits.
Step 4: Practice door and vestibule choreography
A vehicle-attached tent has at least two circulation systems: the ground-tent doors and the hatch connection. Treat both as routes, not merely openings.
Assign each zone a job
- Vehicle cargo area: clean storage, charging access when the vehicle is off, or a changing zone.
- Hatch threshold: keep clear; it is the bridge between spaces.
- Main door area: shoes, rain layers, and leash - items needed on the way out.
- Pad perimeter: only sleep items and a small water bottle or headlamp.
This is one of those layouts that remove friction: no muddy shoes beside a pillow, no leash buried under a duffel, and no one having to climb over a sleeping child to reach the door.
If you use the Rightline Gear SUV Tent 110907, follow its model-specific guide rather than borrowing attachment methods from another tent. Its instructions call for a flat, debris-free pitch; a centered vehicle backed to the lower sleeve; and particular upper-attachment steps. They also warn against overtightening the sleeve straps: if the tent-door zipper becomes difficult to close, back off the tension.
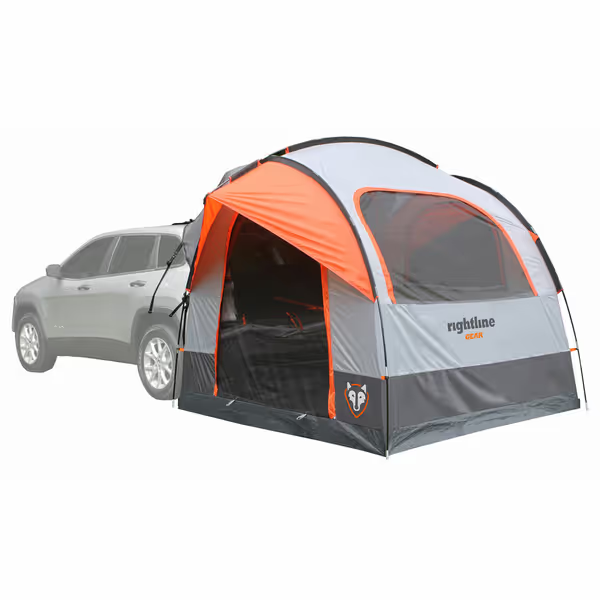
Rightline Gear SUV Tent
Sleep off the ground with roomy, weatherproof vehicle-attached camping comfort.
$214.99
Sleeping Capacity6 people (4 in tent, 2 in cargo)
Sleeping Capacity6 people (4 in tent, 2 in cargo)
Pros
Sleeps off the ground for comfort
Weatherproof design (PU 2000mm) keeps you dry
Free-standing option for day adventures
Cons
Requires vehicle for optimal setup
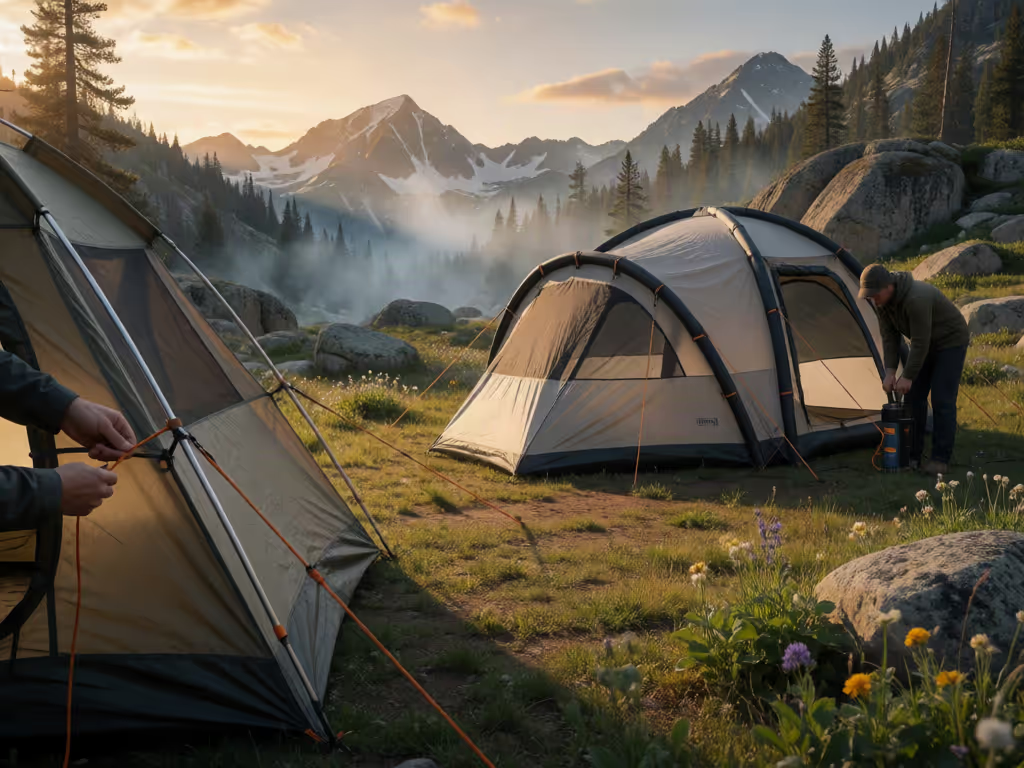
Step 5: Make the first setup slow on purpose
A calm first practice creates a fast campsite routine later, especially when you follow an easy tent setup guide. Napier says its two-pole Sportz Dome-To-Go can be set up in under 10 minutes, while also recommending help for the initial pitch. Across its SUV-tent range, Napier says setup commonly takes about 15 to 25 minutes once campers know the process. Treat those as manufacturer guidance, not a guarantee for your first attempt.
Use this repeatable sequence:
- Choose level ground and set the vehicle's emergency brake.
- Clear rocks and sticks from under the tent footprint.
- Lay out and stake the floor with the fabric pulled smooth.
- Assemble poles and raise the tent body before rushing the vehicle connection.
- Align the vehicle straight with the rear opening, then attach the sleeve exactly as your model's instructions specify.
- Close and test every zipper before adding rainfly, guylines, bedding, or gear.
- Walk the night route: bed to door, door to shoes, shoes to vehicle, then back.
That final walk catches more problems than another minute spent admiring a tidy pitch.
Step 6: Set weather boundaries instead of hoping features solve everything
Use the rainfly and close storm flaps according to the conditions and your tent's instructions. The Sportz Dome-To-Go, for instance, lists a full rainfly, taped seams, and zippered storm flaps; these are useful design features, not a promise of performance in severe weather.
Stake the tent and use the supplied guy lines. The Rightline 110907 instructions specifically call for guy lines at all four corners in windy conditions. Napier does not assign official wind or UV ratings to its SUV tents and advises avoiding severe weather and high winds. If a forecast or site conditions look beyond your comfort margin, choose a more protected plan using these tent camping safety guidelines rather than trying to "win" against the weather.
Keep all flame and heat sources away from tent fabric. And never run the vehicle while the tent is attached or in use: Napier warns that exhaust fumes can build up around the tent and create a serious carbon-monoxide hazard.
Step 7: Do a five-minute bedtime reset
Before lights-out, restore the plan that protects sleep:
- Zip the route you will not use overnight.
- Put shoes and wet items in the assigned entry zone.
- Keep a headlamp, water, and keys reachable from each adult's sleeping position.
- Check that the dog's bed does not block the hatch passage or door.
- Adjust windows, doors, and fly configuration for current conditions, following your tent instructions.
The aim is not a showroom-perfect campsite. For a deeper look at managing moisture overnight, use these tent condensation and ventilation techniques when adjusting doors, windows, and the rainfly. It is a room that still works at 2 a.m., in rain, with tired people.
FAQ
Do SUV tents fit all SUV models?
No. Broad-fit or universal sleeves still have limits based on open-hatch height, vehicle size and profile, and door design. Confirm the exact tent's vehicle guidance; a model intended for smaller hatchbacks may not fit a larger SUV, and some models exclude barn doors.
What is the easiest SUV tent to set up?
There is no reliable basis for naming one easiest model. A simple pole count can help: Napier describes the Sportz Dome-To-Go as a two-pole design and claims under-10-minute setup. But actual ease depends on your vehicle connection, first-time familiarity, wind, daylight, and whether two people pitch it together.
Your next step: run a driveway rehearsal
This week, park on level ground and tape out your pad layout (or pitch the tent if you already own it). Time the setup, sit on every pad location, open every door with bedding in place, and rehearse the hatch-to-bed route with your whole crew, paws included. Adjust the layout now, and your next car-camping night can begin as a trip rather than a logistics exercise.
Related Articles