Beginner Tent Guide: Size Truths and Easy Setup
By Mateo Alvarenga • 7th Oct
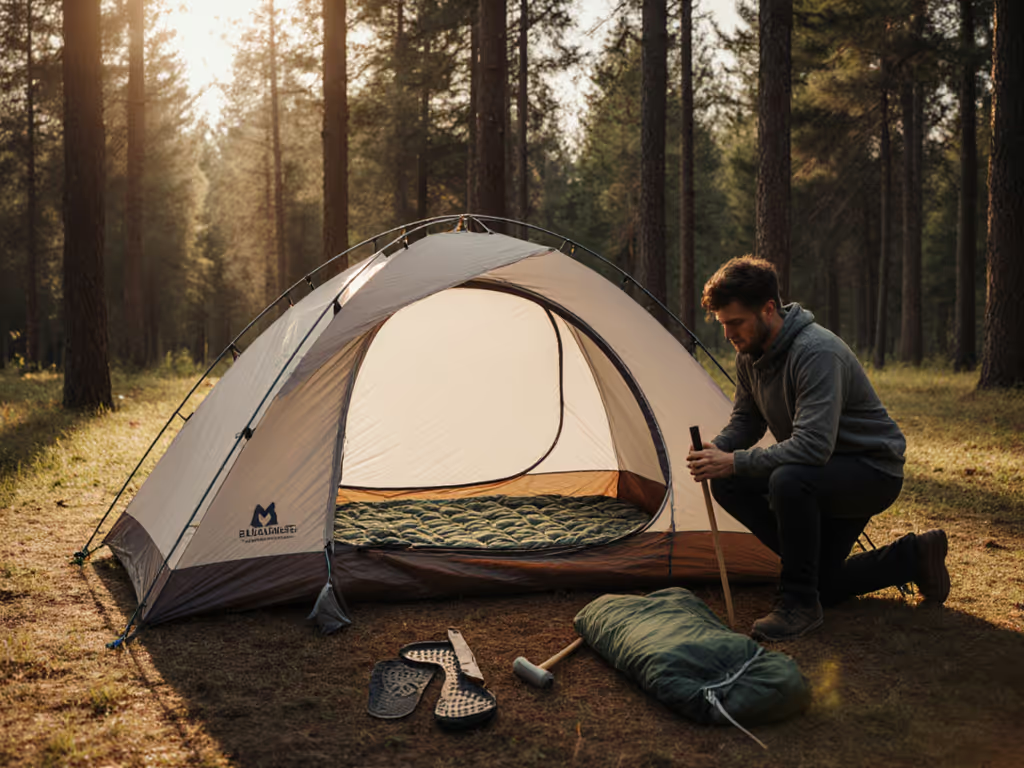
Cut through marketing fluff with easy-setup camping tent strategies that actually work for real humans (not just theoretical "2-person" specs). Forget capacity numbers that evaporate the moment you unroll your pad; true fit is measured in shoulder room, door accessibility, and peace of mind when your dog circles before settling. After years mapping tent interiors with laser lines and full-size templates, I've learned that layouts are destiny for sleep quality.
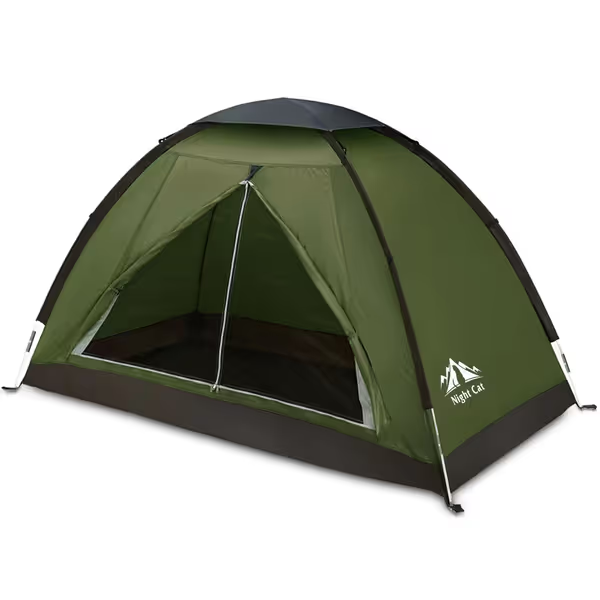
Night Cat 1-2 Person Backpacking Tent
Compact, easy-pitch tent for solo adventurers or a tight duo.
$42.74
Weight2 kg (4.4 lbs)
Weight2 kg (4.4 lbs)
Pros
Fast 1-2 minute setup, even in challenging conditions.
Compact pack size for easy transport and storage.
Fits 1 person comfortably with gear, or 2 snugly.
Cons
Mixed durability reports; fiberglass poles may be fragile.
Customers praise its easy setup, compact design, and room for two, calling it good value, though water resistance and pole durability receive mixed reviews.
Customers praise its easy setup, compact design, and room for two, calling it good value, though water resistance and pole durability receive mixed reviews.
Why Tent Size Guides Lie (And What to Trust Instead)
That "3-person" tent? It's really a 2-person tent with space for a bedtime story (or a medium-sized dog). Marketing capacity numbers don't account for:
- Sleep posture realities: Side sleepers need 25-30" width per person
- Pad thickness: Your 3" insulated pad eats 6" of vertical headroom
- Vestibule choreography: Where do muddy paws and wet gear live?
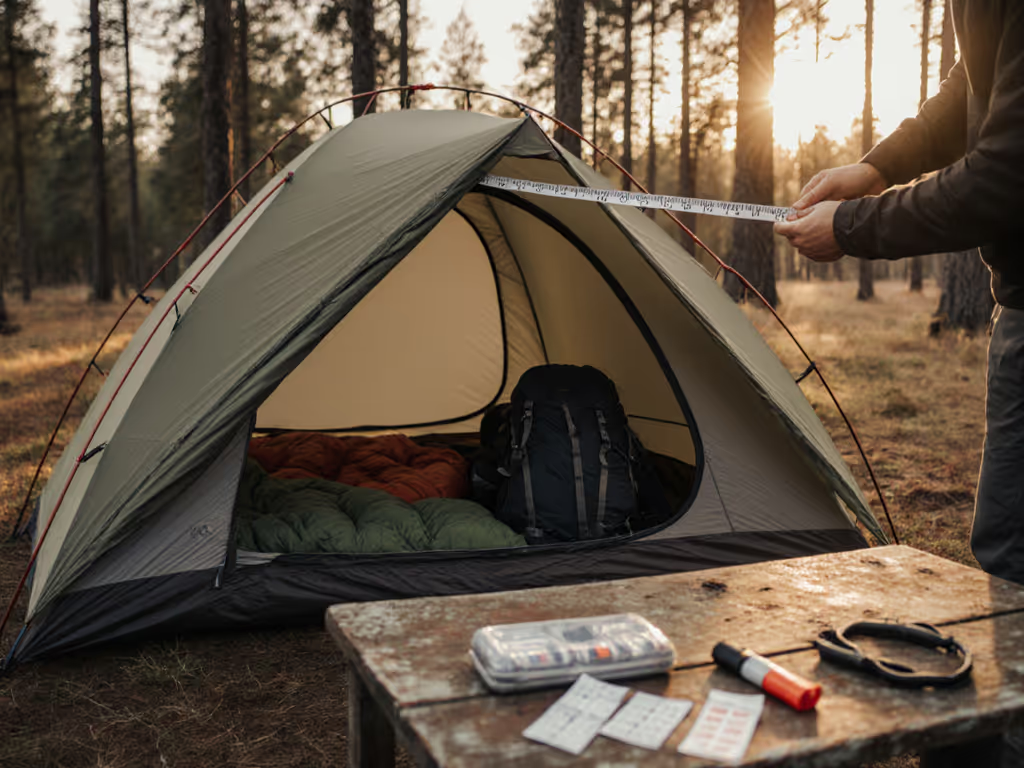
I once traced full-size pad cutouts on my living room floor, then moved a tent over them to map actual headroom. The "3-person" model barely fit my partner, me, and our shepherd (who needed space to circle before settling). That experience became my methodology: pad layout templates don't lie, but spec sheets often do.
Reading Between Tent Specs
Forget "floor area" calculations. For realistic occupancy and visual space examples, see our tent size guide. Instead, look for:
Fit-first layouts turn marketing capacity into real sleep space
- Shoulder-to-hip taper maps: 25" at shoulders vs. 20" at feet = cramped for side sleepers
- Peak height at sleeping positions: 40" min for sitting up comfortably while changing
- Door orientation: Side doors create vestibule dead zones; end doors maximize usable space
When evaluating a compact backpacking tent, check if its 7'x3.8' dimensions place peak height over sleeping pads, not wasted at the foot end. Many "1-2 person" models actually fit one adult plus child comfortably when the layout prioritizes sleep posture tagging for smaller bodies.
The Human-Centered Setup Process
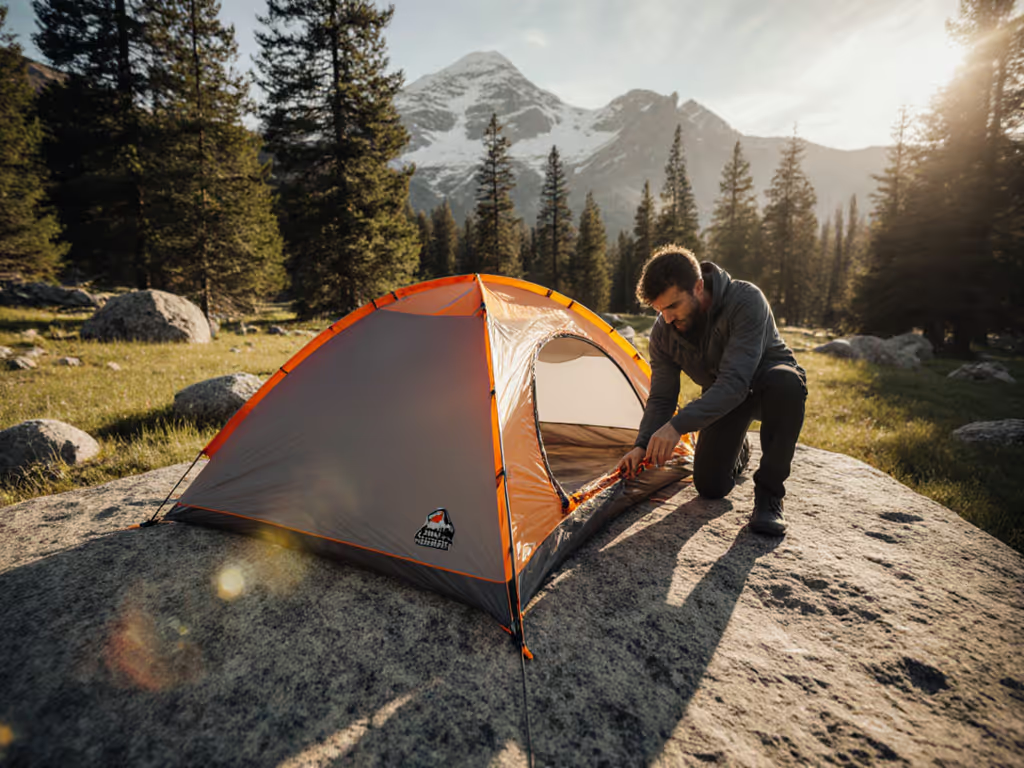
Forget "just follow the color-coded clips." True easy tent setup begins with understanding how bodies, paws, and gear interact with the space. Your tent isn't a shelter, it's a bedroom where your trip's success is decided.
Step 1: Map Your Campsite Like a Living Room
Before touching poles:
- Position for flow: Orient doors toward your camp kitchen, not into the wind
- Account for sprawl: Add 12" beyond tent footprint for vestibule gear storage
- Test headroom: Stand where sleeping pads will go (can you sit up without touching poles?)
Pro Tip: Place your rolled pads where sleepers will be. If knees hit walls when lying down, that "3-person" tent won't work for your family.
Step 2: Anchor for People, Not Just Poles
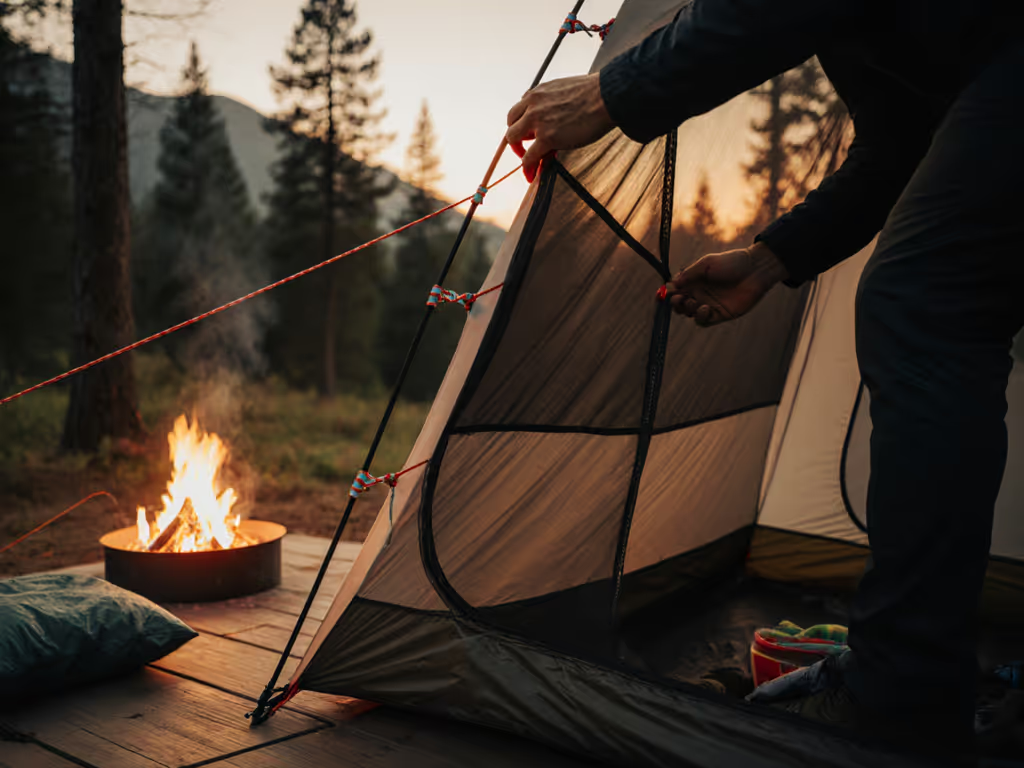
Staking isn't just about stability, it's about interior geometry:
- Taut but not tight: Over-tensioning pulls fabric inward, shrinking interior space
- Stake placement: Angle stakes 45° outward from sleeping positions, not corners
- Vestibule choreography: Leave 18" clearance for door operation with gear piled inside
Step 3: Fly Positioning for Dry Comfort
Rainflies aren't just weather shields, they affect interior climate:
- Gap management: Maintain 4-6" airspace between fly and tent body to reduce condensation
- Vent alignment: Position roof vents over sleeping areas, not empty vestibules
- Door overlap: Ensure 8" minimum fly coverage over doors to prevent drip channels
Verification Checklist: Does It Really Fit?
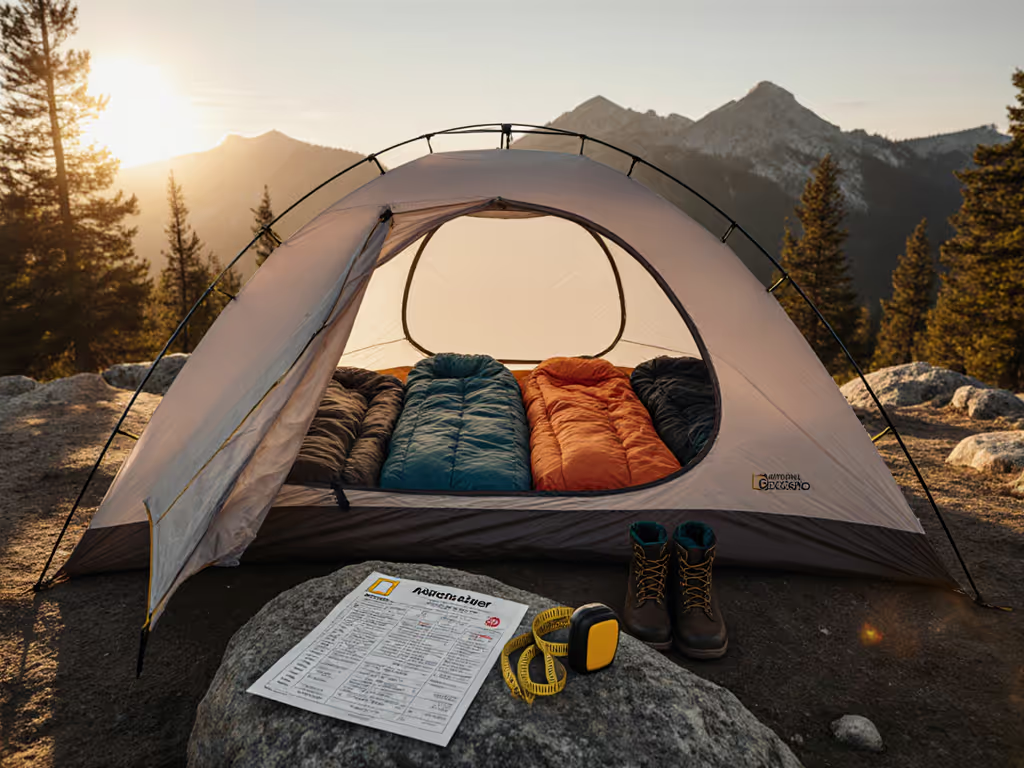
After setup, validate your space with these real-world tests:
| Test | Pass/Fail Criteria | Why It Matters |
|---|---|---|
| Shoulder Check | Can side sleepers turn without touching walls? | Prevents sleep disruption every 90 minutes |
| Paw Test | Dog can circle + lie down without touching sleeper | Avoids midnight wake-ups from restless pets |
| Vestibule Triage | Fits muddy boots + wet jacket without blocking door | Prevents gear avalanches at entry/exit |
| Headroom Map | 36"+ clearance where heads rest | Enables comfortable changing/pre-sleep routines |
Actionable Next Step: Your Size Verification Drill
Before buying any tent, do this tonight:
- Measure your sleeping pads and trace full-size outlines on newspaper
- Add 6" around each pad for body sprawl (more for restless sleepers/pets)
- Position outlines on your floor with doors facing your "kitchen"
- Walk the perimeter - can you access all doors without stepping on pads?
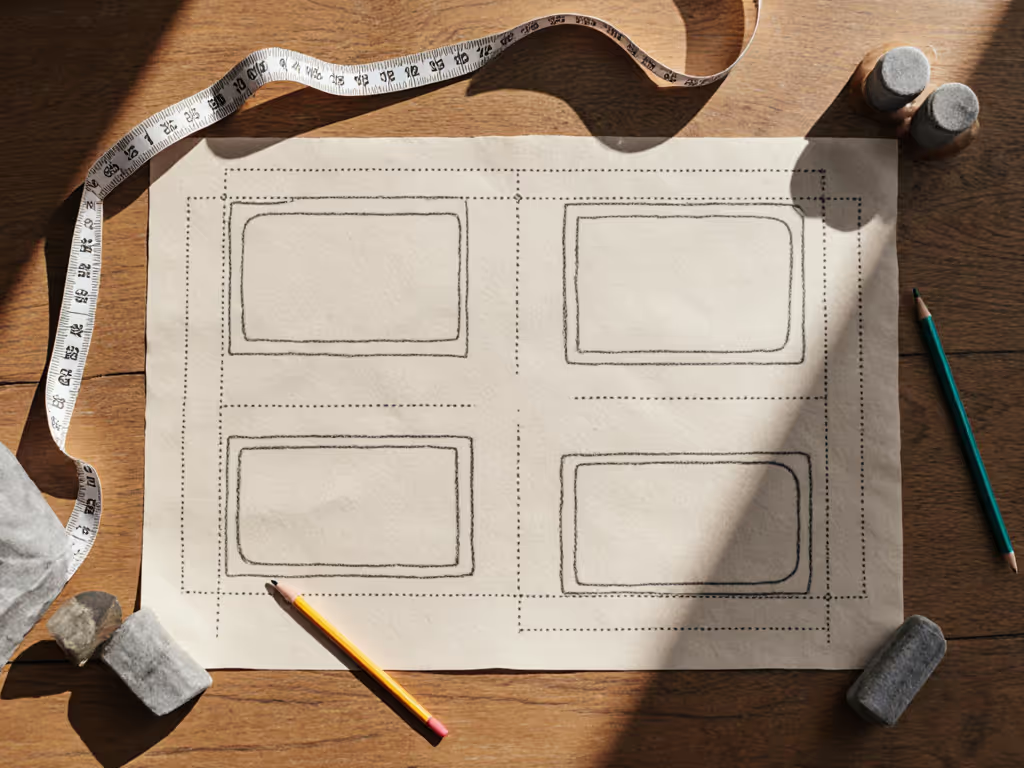
This ten-minute exercise prevents $200 regrets and transforms tent selection from guesswork into people-first language that respects how real bodies actually sleep. When you prioritize annotated headroom maps over marketing capacity, you're not just buying a tent, you're investing in trips where everyone (including the dog) wakes up refreshed.
Remember: gear shouldn't dictate your trip. With layouts that remove friction, your tent becomes a true home base where the only story you'll share is how well you slept.
Related Articles